AI API Keys Guide
Master the Art of API Integration
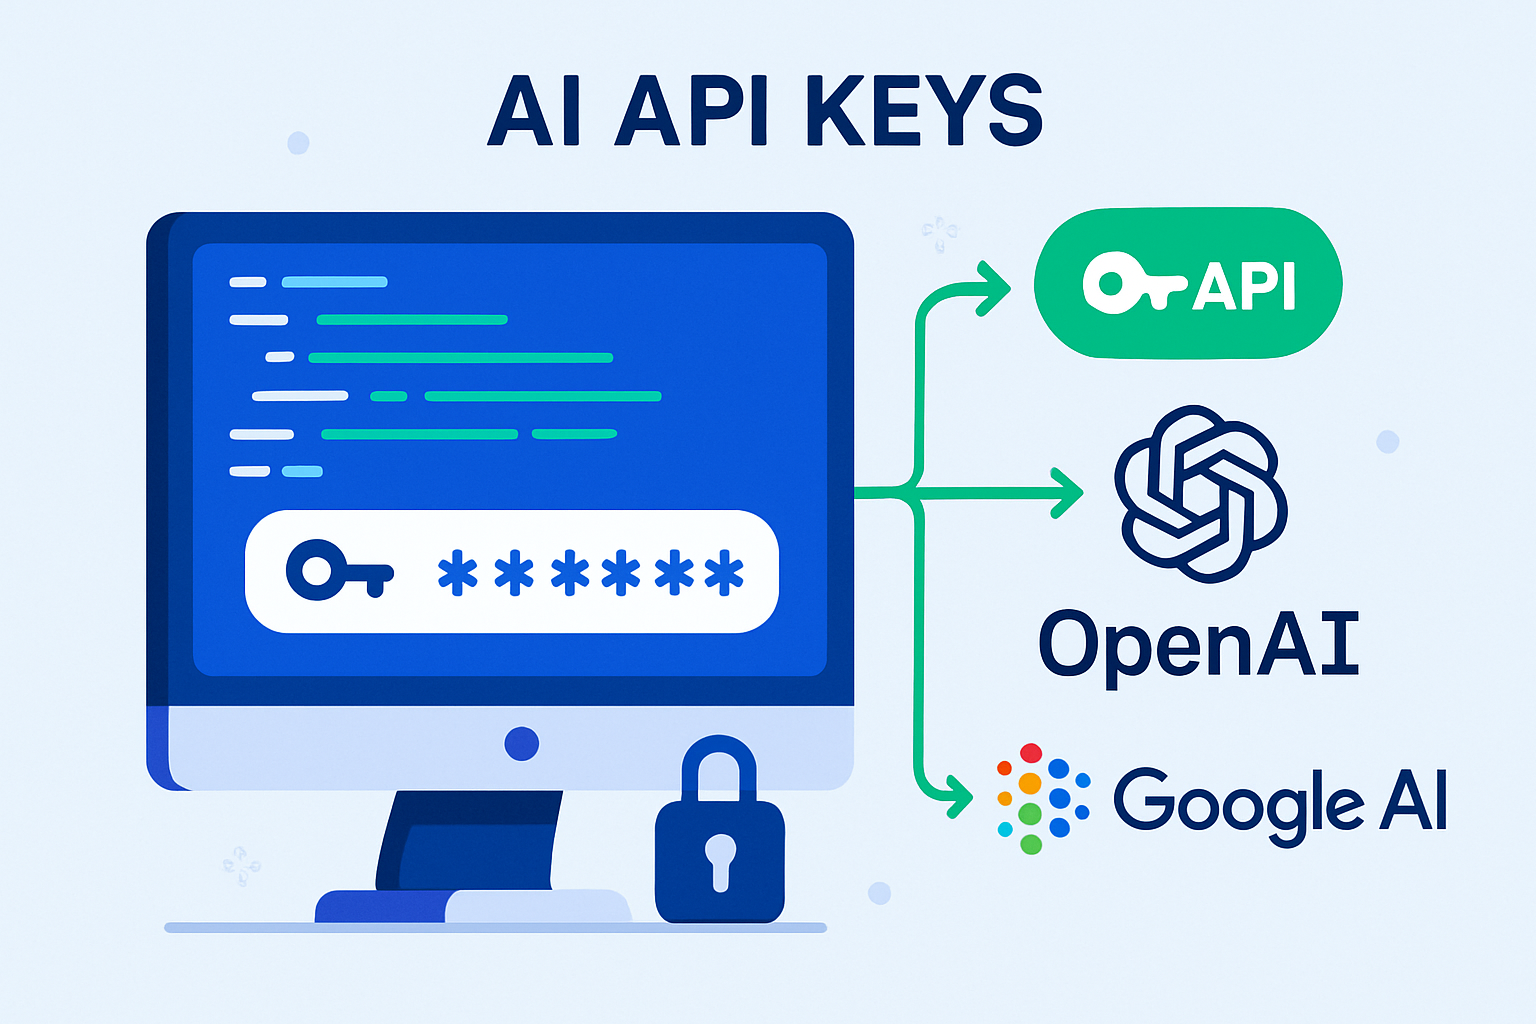
Learn everything you need to know about AI API keys, from obtaining them to implementing them securely in your projects. This comprehensive guide covers OpenAI, Google AI, and more.
Master the Art of API Integration
Learn everything you need to know about AI API keys, from obtaining them to implementing them securely in your projects. This comprehensive guide covers OpenAI, Google AI, and more.
API keys are unique identifiers that authenticate and authorize access to Application Programming Interfaces (APIs). Think of them as digital passwords that allow your applications to communicate with external services like OpenAI's GPT models, Google's AI services, or other cloud-based platforms.
An API key is like a special password that identifies your application to an API service, allowing you to access its features while tracking your usage and ensuring security.
When you make a request to an AI service, you include your API key in the request headers. The service then verifies your key, checks your permissions, and processes your request accordingly. This system ensures that only authorized users can access the service and helps providers track usage for billing purposes.
API keys serve several critical purposes in modern web development and AI integration:
Verify that requests are coming from authorized users or applications.
Monitor how much of the service you're using for billing and rate limiting.
Control how many requests you can make per minute or hour to prevent abuse.
Track usage for accurate billing based on your consumption of API resources.
Without API keys, services would have no way to identify users, track usage, or prevent unauthorized access. This would make it impossible to provide reliable, scalable AI services to developers and businesses worldwide.
OpenAI provides access to powerful language models like GPT-4, GPT-3.5, and DALL-E through their API. Here's a step-by-step guide to obtaining your OpenAI API key:
Visit platform.openai.com and sign up for an account. You'll need to provide an email address and verify your account.
Once logged in, go to your account settings and find the "API Keys" section. This is usually located in the left sidebar or under your profile menu.
Click "Create new secret key" and give it a descriptive name like "My Web Project" or "AI Chatbot App" to help you identify it later.
Copy the generated key immediately and store it securely. OpenAI will only show the key once for security reasons.
Never share your API key publicly or commit it to version control systems like Git. Treat it like a password and keep it secure.
Your OpenAI API key will look something like this: sk-proj-abcd1234efgh5678ijkl9012mnop3456qrst7890.
The key always starts with "sk-" followed by additional characters that identify the project and provide the actual key data.
Google offers various AI services through Google Cloud Platform and AI Studio. Here's how to get API keys for Google's AI services:
Visit aistudio.google.com and sign in with your Google account. This is the easiest way to get started with Google's AI APIs.
In the AI Studio interface, look for "Get API Key" or "Create API Key" button. Click it to generate a new key for your project.
You can restrict your API key to specific websites or IP addresses for added security. This is recommended for production applications.
Copy the generated API key and store it securely. Google AI API keys typically start with "AIza" followed by additional characters.
For more advanced features and enterprise use, you can also create API keys through the Google Cloud Console at console.cloud.google.com.
Now that you have your API keys, let's learn how to use them in your web applications. Here are practical examples for both OpenAI and Google AI APIs:
<!DOCTYPE html>
<html lang="en">
<head>
    <meta charset="UTF-8">
    <meta name="viewport" content="width=device-width, initial-scale=1.0">
    <title>OpenAI API Example</title>
</head>
<body>
    <div id="chat-container">
        <input type="text" id="user-input" placeholder="Ask me anything...">
        <button onclick="sendMessage()">Send</button>
        <div id="response"></div>
    </div>

    <script>
        const API_KEY = 'your-openai-api-key-here';
        const API_URL = 'https://api.openai.com/v1/chat/completions';

        async function sendMessage() {
            const userInput = document.getElementById('user-input').value;
            const responseDiv = document.getElementById('response');

            if (!userInput.trim()) return;

            try {
                const response = await fetch(API_URL, {
                    method: 'POST',
                    headers: {
                        'Content-Type': 'application/json',
                        'Authorization': `Bearer ${API_KEY}`
                    },
                    body: JSON.stringify({
                        model: 'gpt-3.5-turbo',
                        messages: [
                            {
                                role: 'user',
                                content: userInput
                            }
                        ],
                        max_tokens: 150
                    })
                });

                const data = await response.json();

                if (data.choices && data.choices[0]) {
                    responseDiv.innerHTML = `<p><strong>AI:</strong> ${data.choices[0].message.content}</p>`;
                } else {
                    responseDiv.innerHTML = '<p>Error: No response received</p>';
                }
            } catch (error) {
                responseDiv.innerHTML = `<p>Error: ${error.message}</p>`;
            }
        }
    </script>
</body>
</html><!DOCTYPE html>
<html lang="en">
<head>
<meta charset="UTF-8">
<meta name="viewport" content="width=device-width, initial-scale=1.0">
<title>Google AI Example</title>
</head>
<body>
<div id="ai-container">
<textarea id="prompt-input" placeholder="Enter your prompt here..."></textarea>
<button onclick="generateContent()">Generate</button>
<div id="ai-response"></div>
</div>
<script>
const GOOGLE_API_KEY = 'your-google-api-key-here';
const GOOGLE_API_URL = 'https://generativelanguage.googleapis.com/v1beta/models/gemini-pro:generateContent';
async function generateContent() {
const promptInput = document.getElementById('prompt-input').value;
const responseDiv = document.getElementById('ai-response');
if (!promptInput.trim()) return;
try {
const response = await fetch(`${GOOGLE_API_URL}?key=${GOOGLE_API_KEY}`, {
method: 'POST',
headers: {
'Content-Type': 'application/json',
},
body: JSON.stringify({
contents: [{
parts: [{
text: promptInput
}]
}]
})
});
const data = await response.json();
if (data.candidates && data.candidates[0]) {
const content = data.candidates[0].content.parts[0].text;
responseDiv.innerHTML = `<p><strong>AI Response:</strong> ${content}</p>`;
} else {
responseDiv.innerHTML = '<p>Error: No response received</p>';
}
} catch (error) {
responseDiv.innerHTML = `<p>Error: ${error.message}</p>`;
}
}
</script>
</body>
</html>Protecting your API keys is crucial for maintaining the security of your applications and preventing unauthorized usage. Here are essential security practices you should always follow:
Don't include API keys directly in your HTML, JavaScript, or any client-side code. Anyone can view source code and steal your keys.
Store API keys in environment variables or secure configuration files that are not committed to version control.
Set up rate limiting on your server to prevent abuse and unexpected charges from excessive API calls.
Periodically generate new API keys and deactivate old ones to minimize the impact of potential compromises.
Instead of exposing API keys in frontend code, create a backend proxy that handles API calls securely:
// Frontend code - no API keys exposed
async function sendMessage(message) {
    try {
        const response = await fetch('/api/chat', {
            method: 'POST',
            headers: {
                'Content-Type': 'application/json',
            },
            body: JSON.stringify({ message: message })
        });

        const data = await response.json();
        return data.response;
    } catch (error) {
        console.error('Error:', error);
        throw error;
    }
}Many developers accidentally commit API keys to GitHub repositories. Always use .gitignore files and environment variables to prevent this costly mistake.
Here are the most common issues developers encounter when working with AI API keys and their solutions:
Problem: Your API key is invalid or incorrectly formatted.
Solution: Double-check your API key, ensure it's correctly copied, and verify it hasn't expired.
Problem: You're making too many requests too quickly.
Solution: Implement request throttling and respect the API's rate limits.
Problem: Browser blocking requests due to Cross-Origin Resource Sharing policies.
Solution: Use a backend proxy or enable CORS on your server.
Problem: You've exceeded your API usage limits or run out of credits.
Solution: Check your account billing and usage limits in the API provider's dashboard.
// Add detailed error logging to debug API issues
async function makeAPICall(prompt) {
    try {
        console.log('Making API call with prompt:', prompt);

        const response = await fetch(API_URL, {
            method: 'POST',
            headers: {
                'Content-Type': 'application/json',
                'Authorization': `Bearer ${API_KEY}`
            },
            body: JSON.stringify({
                model: 'gpt-3.5-turbo',
                messages: [{ role: 'user', content: prompt }]
            })
        });

        console.log('Response status:', response.status);
        console.log('Response headers:', response.headers);

        if (!response.ok) {
            const errorText = await response.text();
            console.error('API Error:', errorText);
            throw new Error(`API Error: ${response.status} - ${errorText}`);
        }

        const data = await response.json();
        console.log('API Response:', data);

        return data;
    } catch (error) {
        console.error('Full error details:', error);
        throw error;
    }
}Here are complete, production-ready examples that demonstrate best practices for API key usage:
<!DOCTYPE html>
<html lang="en">
<head>
    <meta charset="UTF-8">
    <meta name="viewport" content="width=device-width, initial-scale=1.0">
    <title>Advanced AI ChatBot</title>
    <style>
        .chat-container {
            max-width: 600px;
            margin: 0 auto;
            padding: 20px;
            font-family: Arial, sans-serif;
        }
        .message {
            margin: 10px 0;
            padding: 10px;
            border-radius: 8px;
        }
        .user-message {
            background-color: #e3f2fd;
            text-align: right;
        }
        .ai-message {
            background-color: #f5f5f5;
        }
        .input-container {
            display: flex;
            gap: 10px;
            margin-top: 20px;
        }
        #user-input {
            flex: 1;
            padding: 10px;
            border: 1px solid #ddd;
            border-radius: 4px;
        }
        button {
            padding: 10px 20px;
            background-color: #2563eb;
            color: white;
            border: none;
            border-radius: 4px;
            cursor: pointer;
        }
        button:disabled {
            background-color: #ccc;
            cursor: not-allowed;
        }
        .loading {
            opacity: 0.6;
        }
        .error {
            color: #d32f2f;
            background-color: #ffebee;
        }
    </style>
</head>
<body>
    <div class="chat-container">
        <h1>AI ChatBot</h1>
        <div id="chat-messages"></div>
        <div class="input-container">
            <input type="text" id="user-input" placeholder="Type your message..." onkeypress="handleKeyPress(event)">
            <button id="send-btn" onclick="sendMessage()">Send</button>
        </div>
    </div>

    <script>
        // Configuration
        const CONFIG = {
            apiUrl: '/api/chat', // Use backend proxy for security
            maxRetries: 3,
            retryDelay: 1000
        };

        let conversationHistory = [];
        let isLoading = false;

        function handleKeyPress(event) {
            if (event.key === 'Enter' && !event.shiftKey) {
                event.preventDefault();
                sendMessage();
            }
        }

        async function sendMessage() {
            if (isLoading) return;

            const userInput = document.getElementById('user-input');
            const message = userInput.value.trim();

            if (!message) return;

            // Add user message to chat
            addMessage(message, 'user');
            userInput.value = '';

            // Set loading state
            setLoading(true);

            try {
                const response = await makeAPICallWithRetry(message);
                addMessage(response, 'ai');
            } catch (error) {
                addMessage(`Error: ${error.message}`, 'error');
            } finally {
                setLoading(false);
            }
        }

        async function makeAPICallWithRetry(message, retries = 0) {
            try {
                const response = await fetch(CONFIG.apiUrl, {
                    method: 'POST',
                    headers: {
                        'Content-Type': 'application/json',
                    },
                    body: JSON.stringify({
                        message: message,
                        history: conversationHistory
                    })
                });

                if (!response.ok) {
                    throw new Error(`HTTP ${response.status}: ${response.statusText}`);
                }

                const data = await response.json();

                // Update conversation history
                conversationHistory.push(
                    { role: 'user', content: message },
                    { role: 'assistant', content: data.response }
                );

                return data.response;
            } catch (error) {
                if (retries < CONFIG.maxRetries) {
                    await new Promise(resolve => setTimeout(resolve, CONFIG.retryDelay));
                    return makeAPICallWithRetry(message, retries + 1);
                }
                throw error;
            }
        }

        function addMessage(content, type) {
            const messagesContainer = document.getElementById('chat-messages');
            const messageDiv = document.createElement('div');
            messageDiv.className = `message ${type}-message`;

            if (type === 'user') {
                messageDiv.innerHTML = `<strong>You:</strong> ${content}`;
            } else if (type === 'ai') {
                messageDiv.innerHTML = `<strong>AI:</strong> ${content}`;
            } else if (type === 'error') {
                messageDiv.innerHTML = content;
            }

            messagesContainer.appendChild(messageDiv);
            messagesContainer.scrollTop = messagesContainer.scrollHeight;
        }

        function setLoading(loading) {
            isLoading = loading;
            const sendBtn = document.getElementById('send-btn');
            const userInput = document.getElementById('user-input');

            sendBtn.disabled = loading;
            sendBtn.textContent = loading ? 'Sending...' : 'Send';
            userInput.disabled = loading;

            if (loading) {
                document.querySelector('.chat-container').classList.add('loading');
            } else {
                document.querySelector('.chat-container').classList.remove('loading');
            }
        }

        // Initialize chat
        window.onload = function() {
            addMessage('Hello! I\'m your AI assistant. How can I help you today?', 'ai');
        };
    </script>
</body>
</html>